Cleaning a new construction home takes more work than a typical house cleaning because of the dust, debris, and residue left behind during construction. Even after a leading general contractor wraps up the project, there’s still a lot of cleanup to do before the space feels move-in-ready. This post covers everything from the supplies you’ll need to the step-by-step process for tackling each room. We’ll also go over final touches and maintenance tips to keep the place looking fresh. Follow these steps, and you’ll get professional-level results without hiring a cleaning crew.
Essential Cleaning Supplies
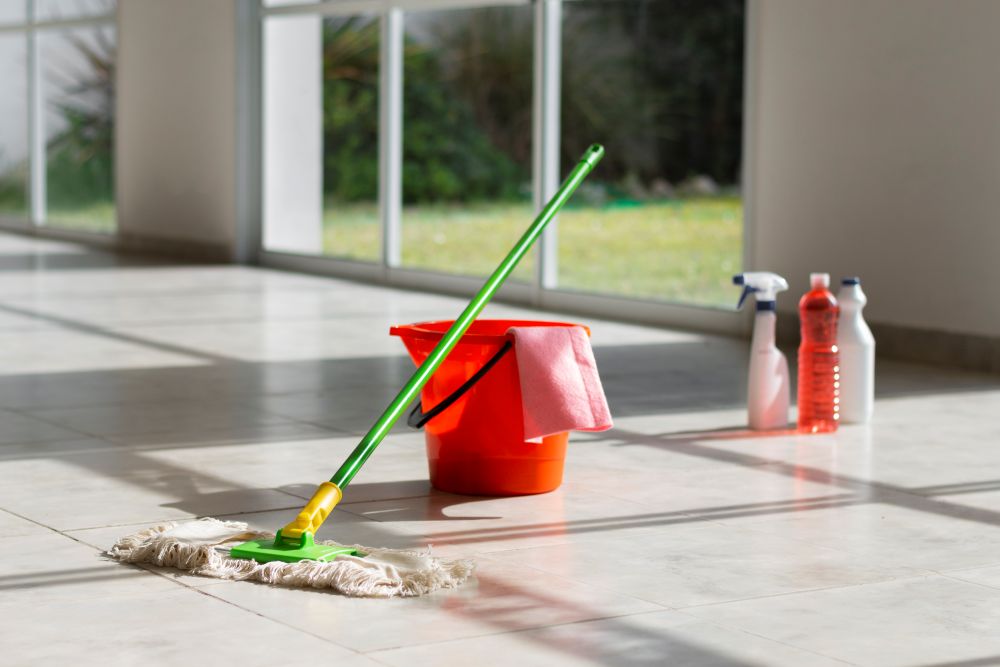
Make sure you have all your cleaning supplies ready before you start. Grab some microfiber cloths for dusting and wiping surfaces without leaving streaks. You’ll also need a solid all-purpose cleaner for countertops, cabinets, and other hard surfaces. Pick up a good glass cleaner for windows and mirrors to get that streak-free shine. A vacuum cleaner with attachments for tight spaces and upholstery is a must. For floors, get a sturdy mop, bucket, and the right floor cleaner for your surface type. Round things out with disposable gloves, trash bags, and a scrub brush for stubborn stains. With these supplies on hand, you’re set for a thorough cleaning session.
Preparing for Cleaning Day
A smooth cleaning day starts with a clear plan and assigned tasks for everyone involved. Create a checklist of all areas that need attention, including floors, windows, fixtures, and so on. Assign roles based on each person’s strengths and what they’re good at. Make sure everyone knows the timeline and what’s expected of them. Coordinate when supplies and equipment will arrive to avoid delays. Set up a central station where everyone can grab what they need. Confirm that everyone has the right safety gear and tools. Before you start, do a quick team meeting to review the plan and answer any questions. Good preparation means the cleaning day runs smoothly.
Tackling Construction Dust and Debris
Before you start cleaning, take a look at how much dust and debris are in each section of the home. Gear up with safety equipment like goggles, masks, and gloves to protect yourself. To get rid of dust the right way, start at the top and work your way down. Use a vacuum with a HEPA filter to capture fine particles. Wipe surfaces with a damp microfiber cloth and a mild all-purpose cleaner. Don’t skip light fixtures, vents, and ceilings; they collect a lot of dust during construction. For debris, pick up larger items first and toss them properly. Save sweeping and vacuuming the floors for last so you catch everything that fell during the cleaning.
Deep Cleaning the Interior
Deep cleaning the interior means paying close attention to every room and avoiding shortcuts.
- Start from the Top: Dust ceiling fans, light fixtures, and crown molding first. Use a microfiber cloth or duster to pick up any remaining dust particles.
- Focus on Surfaces: Wipe down all surfaces, including countertops, cabinets, and baseboards. Pay extra attention to corners and edges where dust likes to hide.
- Clean Floors Last: Vacuum carpets and mop hard floors after everything else is done. Get under furniture and into tight spaces for a complete clean.
- Tackle Appliances: Clean the insides and outsides of appliances such as refrigerators, ovens, and microwaves. Wipe down handles and knobs for a polished look.
Polishing Fixtures and Surfaces
Start by polishing all the fixtures and surfaces throughout the home to get that clean, finished look. Focus on fixtures like faucets, handles, and doorknobs first. Use a gentle cleaner that works for the material and remove any fingerprints, dirt, or smudges. Polish these spots with a microfiber cloth until they shine. Then move on to surfaces like countertops, cabinets, and mirrors. Wipe them down with the right cleaning solution to get rid of dust and residue. Polish with a clean, dry cloth using circular motions for a streak-free shine. Don’t forget the edges and corners; those details matter for the home’s overall look.
Final Touches and Maintenance
Adding final touches and setting up a maintenance routine keeps the home looking great long after the initial cleaning.
- Inspect and Seal Grout Regularly: Check grout lines for cracks or gaps and reseal them to prevent moisture and mold problems.
- Clean HVAC Filters Monthly: Swap out HVAC filters regularly to maintain good air quality and keep the system running efficiently.
- Check Caulking Around Windows and Doors: Look for worn-out caulking and replace it to prevent drafts and save on energy costs.
- Schedule Professional Deep Cleans Annually: Book a deep-cleaning service once a year to reach hard-to-reach areas and keep the home in top shape.
Related Topics: